Monday, April 28, 2014

Red, White and Blue, "Once Upon a Time" showers us in costumes.

Wowee. "Once Upon a Time" seems to deliver its best episodes and its best costumes at the same time. "A Curious Thing" was wonderful on many levels, not the least of which was the glorious plenthora of new costumes.


Unfortunately, Amazon instant is not the best venue for grabbing screen caps, but I did my best. Here we can see Belle's costume from a few episodes ago in full length glory ( although looking a lot less purple here), as well as Regina's new furry ensemble. (This scene has been heavily color corrected, as seen by the lack of blue in Belle and Regina's costumes...)

That's right. Regina's costume isn't black, but rather blue, which evokes both "War and Peace" and The Cookie Monster with all that blue fur.


Glinda makes a short appearance (looking weirdly like Emma), but goes very Snow Queen rather than puffy pink tulle in an elaborately beaded taffeta gown. (OUAT likes high collars.)


Here we have a nice full length shot of the new pieces, including Snow's amazing red dress, and another look at Aurora's new attired (although she still remains fully cloaked). With the back view we notice that Regina has some lovely lacing detail on her coat.


And here we have a close-up on what may be the most elaborately embellished collar yet. Does it look a bit familiar?


Snow's gorgeous rich coat/dress also pays homage to the animated film with the puffed and slashed sleeve details. It may be missing the blue and yellow, but she can sure wear that red well!


Tuesday, April 22, 2014

A Bag for All Seasons


Guys, I love costumes. And dresses. And skirts. And anything wearable out of cool fabric. You know this. But sometimes I like to make other things, like quilts or purses or A BAG FOR ALL SEASONS!

*cough*

Okay, sometimes I just want to make something for a friend but sewing them clothing could be weird and time-consuming, so it's nice to have other options up my sleeve. I found some fabric that reminded me of one friend and thought HEY SHE COULD USE A GYM BAG!


Not a duffle bag though. For one, I didn't have enough fabric. For another, that didn't seem her style. Plus it'd be a lot more work. So I decided to make a nice sturdy bag with a handy pocket. I had a half-yard of this gorgeous cotton print, and then salvaged some lining and chintz from my fabric stash to create the interior.

(The body of my bag is three rectangles - one for the back, and two for the front that combined are a little bigger than the bag to accommodate the zipper seam allowances. You can make yours any size you want - you can even make the zipper horizontal or diagonal instead of vertical!)


From reading different sewing blogs, I'd picked up that one secret to making a good bag is to interface the heck out of it.


So I did.


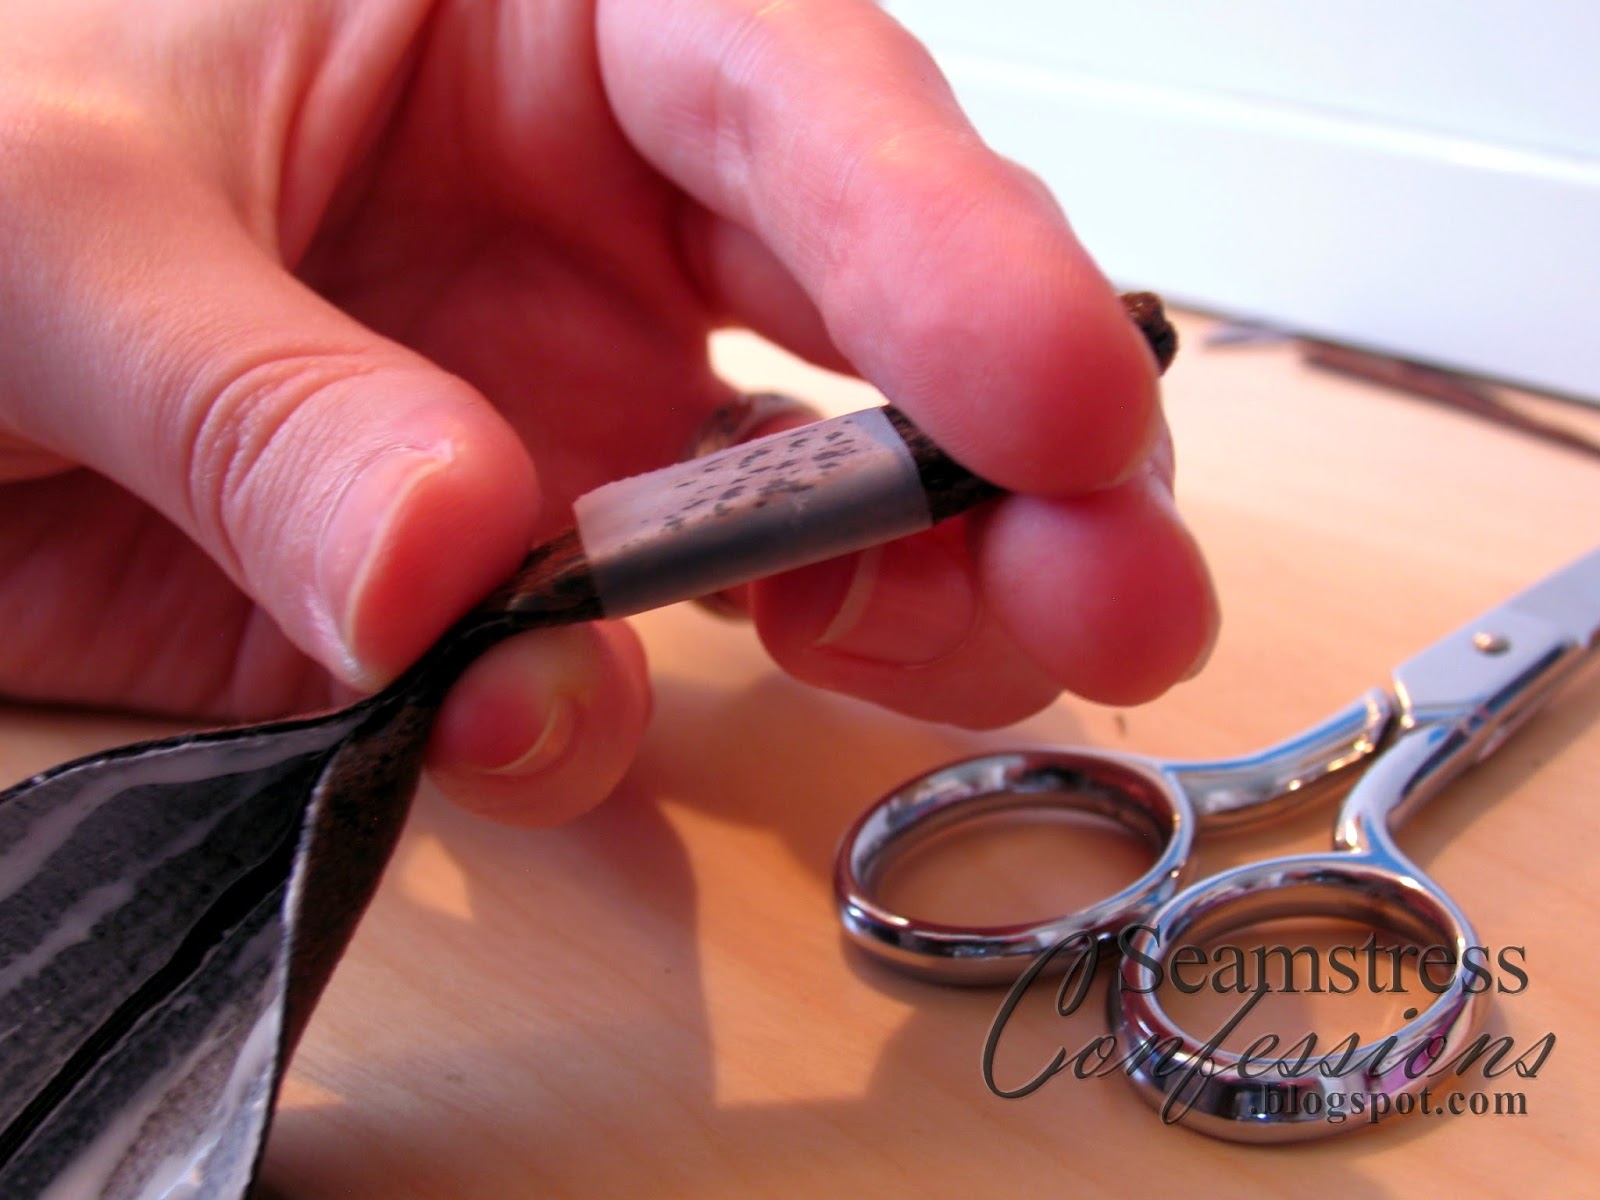
I made one long strap, but you could also do two shorter ones, either grocery bag style, or backpack strap style.


And I topstitched because toptstiching is just cute when used right.


This is the pocket. It's basically a square that cut and sewed out of lining fabric. It will fit between the cotton and the chintz, with a zipper opening!!!


Sewing the outside of the pocket zipper is pretty simple, just follow your normal zipper instructions.


The inside is a little trickier. I sewed the open edge of the pocket to both interior sides of the zipper. I didn't actually do it very efficiently, so I recommend checking out a helpful video tutorial like this one rather than trying to figure it out from my photo up above.


I then stitched one end of my pocket into bottom seam of my bag and basted the other to the open top of the bag.


Then of course I serged the edges to prevent any fraying that would weaken the integrity of the bag.


Look at dat!


The inside is pretty simple, just replicate the exterior of the bag, minus the pocket. Unless you want another pocket on the inside, in which case, cool!


Now, I didn't want the lining of the bag popping out, so I lined up the bottom edge of the lining and the bottom edge of the bag, wrong sides out, and overlapped them by about a third of an inch, sewing a seam down the center of the overlap.


Then, turn the exterior of the bag rightside out, pulling the lining in with it. Now you should have a nearly completed bag, with two raw edges at the top. Turn these in and topstitch them together, inserting the straps as desired.

(If you wanted a drawstring top, you'd just sew another line of stitching about an inch from the top, leaving a little gap between your start and stop for the drawstring to poke through. Then thread a cord through the tube now created between your topstitching and your second row.


And then you have a beautiful bag. (Or a really nerdy one, if you take advantage of the awesome selection of licensed prints now available all over the web.)


(No, my friend does not belong to the League of Assassins. That's just what happened to be on my dressform. She does love the bag though!)

Monday, April 21, 2014

OUAT Gets Obsessed With Beads

I have been informed that some of you are enjoying my costume recaps from OUAT. Unfortunately not every week inspires me enough to grab screencaps, but this week's "Bleeding Through" (3.18) had some fun beaded awesomeness that I just had to share.


Cora goes lavender with an empire-waist gown and matching cloak, both exquisitely adored with intricate beadwork.


There's a tall collar evoking Cora's later styles, carrying the beadwork as high as possible.


Eva meanwhile is pink, velvet and pouty as she schemes her own way to the throne in this deceptively demure ensemble, also displaying some absolutely droolworthy beading.

(Want my full write-up of this episode? Check out my personal blog's take on "Bleeding Through.")

Wednesday, April 16, 2014

Introducing My Love to my other Love.

So I've been teaching my husband how to sew. It's pretty awesome, actually, because he is a fantastic student. (I'm not just being biased. Another seamstress friend confirmed this).


Making dice bags!

(He did this on his second lesson. I'm so proud.)


Now he is working on his costume for CONvergence this year. In addition to reprising Rogue and Gambit, we're planning to do a Steampunk Pirate couple as well. It's going to be fun, not the least because I don't have to do the majority of the work!

(He's also been helping me on some non-sewing portions of the Loki commission - stay tuned for that!)

Friday, April 11, 2014

Assassin's Creed - Part 5

The final piece of this saga was the distinctive red Assassin's belt. For this I found a textured silky solid in the costume fabrics and cut two pieces in a slightly larger shape of the pleather belt.


I also cut and sewed the two hanging straps, then stitched them into the main belt piece.


Turned the whole thing inside out and hey presto! Lovely red belt! I attached it to the pleather piece by sewing over the topstitching on the upper edge of the pleather again.


There it is! (Minus the vambraces, because I couldn't figure out a good way to photograph them on the dress form.)


Want to share this whole tutorial? Pinning the photo above is a great way to go!

Are you interested in commissioning your own costume? Check out my commissions page for further details!

Thursday, April 10, 2014

Assassin's Creed - Part 4


Remember how in Part 3 I said the vinyl was a bit stretchy and thus fussy to work with? You can see the puckering issues in the vambrace pieces above. I've learned my lesson about testing vinyl for appropriate stability! 


Because of the stretchyness and also because vinyl is, after all, plastic leather, I really wanted to make sure everything was reinforced with interfacing. Especially the strips I used to make the straps and buckles.


Disclaimer. I'm not a professional leatherworker. There might be other much better ways to make straps like this. This is the result of my trial and error to come up with something that would work with this leather, look decent, and get the job done.


I started by sewing two strips together. These straps are so thin, that I could not sew both sides and turn them inside out. Therefore I sewed only one side and the tip.


Then I trimmed everything down to make the tip as smooth as possible.


It's always helpful to have a tool like this when turning finicky corners rightside out.


On a bigger strap I'd be able to get a more precise tip, but for the miniscule size here, this was as good as I was going to get.


I then slathered the whole interior with glue, both for stability and to secure the open edge...


...like so! This glue held the edges down until I could topstitch it. I tried pinning it, but it just did not work very well.


A bit of tape...


...and a bit of weight kept the edges turned under and flat until the glue dried.


Once the glue dried, I topstitched the edges and punched out the holes.


The buckles were a bit easier to flip into place and sew down. Here you can see just how tiny they are!


A stud to tack it down and add some more shiny!


The finished belt!


The finished vambrace!

Ready to see the final photos? Check out Part 5 of the Assassin's Creed Cosplay!