
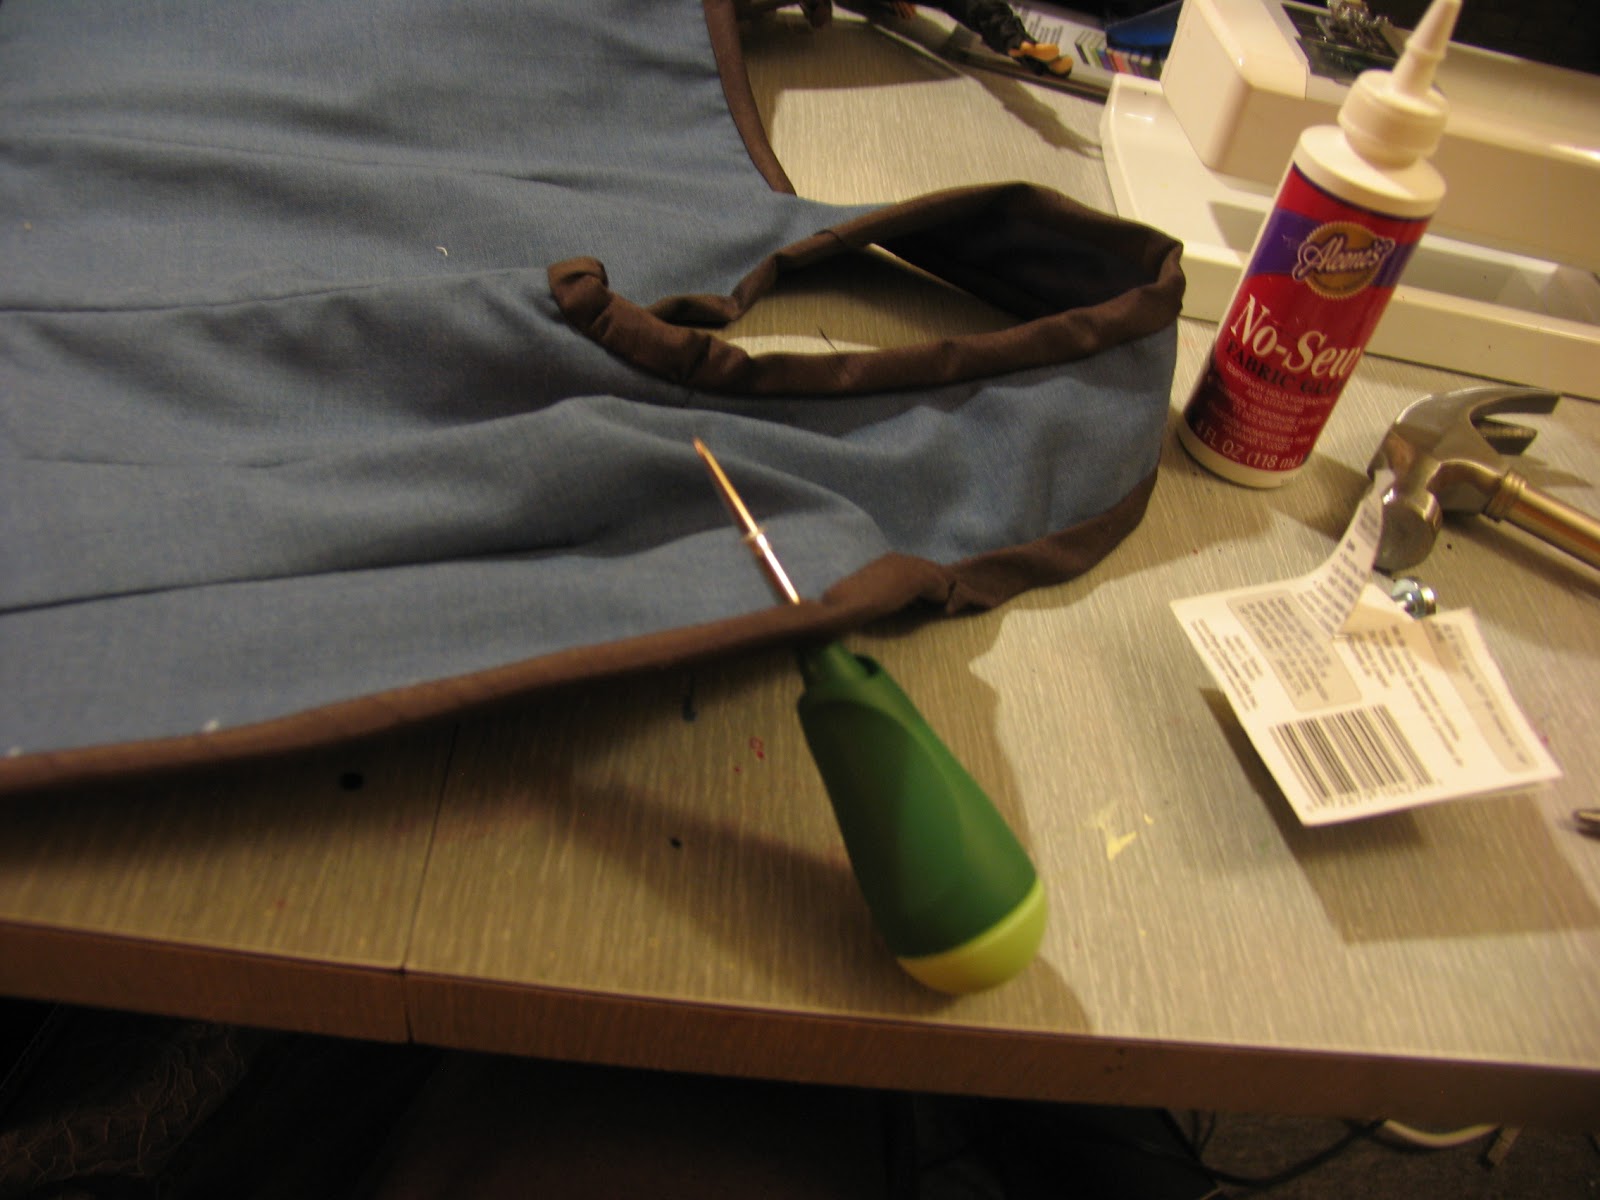
After basting the inner and outershells together, I edge the entire thing in bias tape. I could have used store bought bias here, but I had some gorgeous brown textured fabric and honestly it's not that hard to make bias tape.

Folded it over. Then came a day or two of handsewing it to the interior.
Eyelet time! Now, normally I prefer grommets to eyelets because they're neater, quicker to insert, and stronger. The difference? Grommets are bigger and have two parts, wheras eyelets are quite small and have just a front piece. There are eyelet setters, but they're unreliable and only put in a perfect eyelet half the time. However, this costume required small silver eyelets, so I had to figure out a way to make them work.
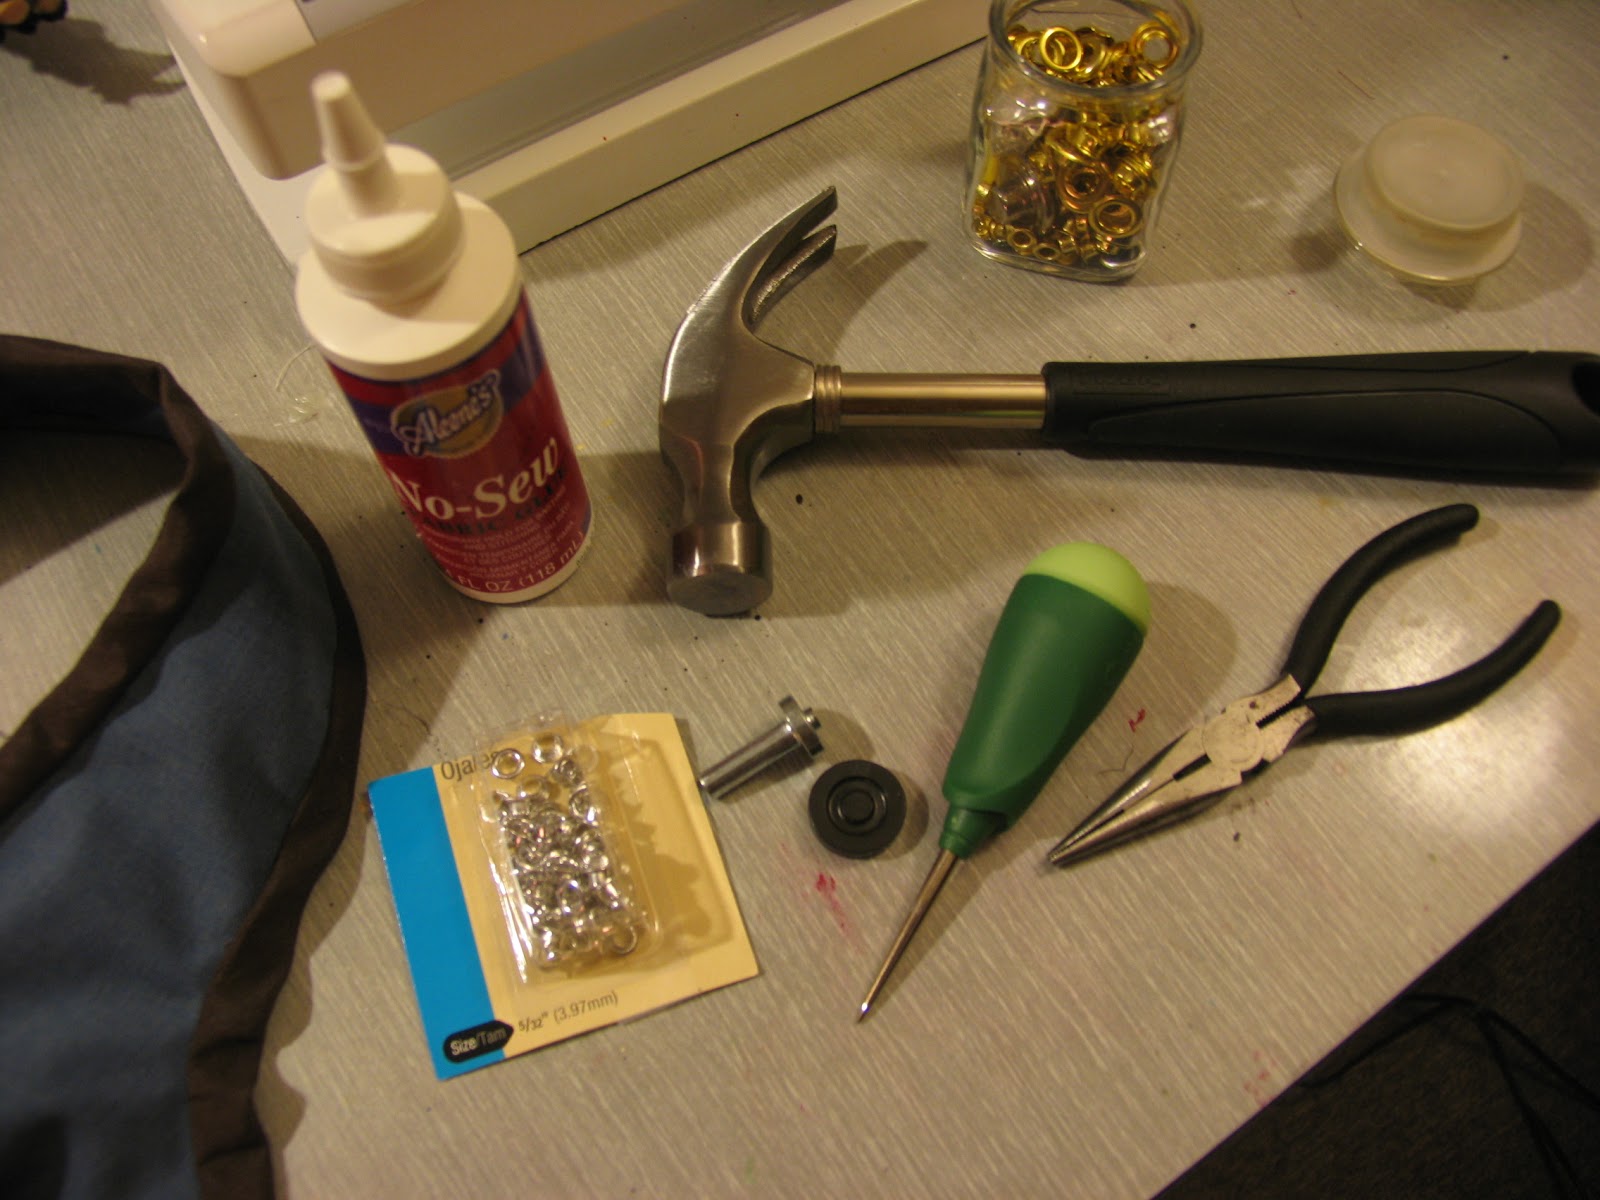
So new method, which I'll teach you about here. You'll need:
Eyelets
Craft glue
Grommet kit
Hammer
Awl
Plyers

First, mark where you want the eyelets to sit. They should be fairly close to the edge of the fabric, right on the edge of the last piece of boning. They should be about 1 and 1/4 inches apart.

Then, use the awl to pierce a hole through the fabric. You want to push between the threads, not break them. Broken threads weaken the fabric around the hole, whereas pushed aside threads will spring back to help hold the eyelet in place.
See that bump on the awl point? That's an eyelet. Slide it down as far as it will go on the awl, then use the awl to leverage the eyelet into the hole.

Turn the fabric over. On the wrong side, use the pliers to gently pull down the sides of the eyelet about halfway.

Then use the base and peg from the grommet kit to lightly hammer the part of the eyelet you just spread open. 'Lightly' is key, as you are just trying to even out the edges. Hammering too hard will cause the eyelet to warp.

Then use the pliers again to force the eyelets down the rest of the way.

Now, although the back of the eyelet should look regular in shape, it still will have some rough edges that can catch on fabric or cause discomfort. So, as a final step, I add a bit of fabric glue around the edge. It dries clear, and has the added benefit of further strengthening the eyelet's bond to the fabric.

And there you have it, the finished blue blouse worn by Belle in "Once Upon a Time." Check out part 3, for details about the sheer blouse and pictures of the final ensemble!
2 comments:
I wish i could have the pattern you used to make this
I create nearly every pattern I use from scratch. I might be open to discussing a pattern commission, if you want to do the actual sewing yourself.
Post a Comment