
(This blog post is part of a series. Start with Part 1 here!)

Of course an essential part of creating a steampunk costume is adding lots and lots of leather bits. We went with pleather rather than real leather for economy reasons, but it was pretty stretchy, so larger pieces needed to be stabilized with some regular cotton broadcloth. I used a double sided fusible to attach the two before sewing them.

For the belt, I bound the edges with some brown bias tape.

The bias tape I had on hand was a bit wider than the seam allowance I wanted to show on the other side, so I used more of the double sided fusible to secure the loose edges.

Invisible edge finishing!

Then I did topstitch near the edges, using topstiching thread and a leather needle.

One detail I was really excited about was incorporating a mini compass into one of the vambraces. I achieved this by taking a strip of leather, gathering it into a circle, and drawing that circle tight around the compass.

I then flipped it over and slathered the back with tacky glue to keep it all very secure.

Next I stitched down the outer edges to a small circle backing.

I then sewed along that same seam again to secure it to the vambrace.

The other vambrace is constructed the same way, but instead of a compass it has little golden gears for embellishment.

I constructed two pouches for the belt.

We've got some lovely fake antique coins here for a pirate-y flair.

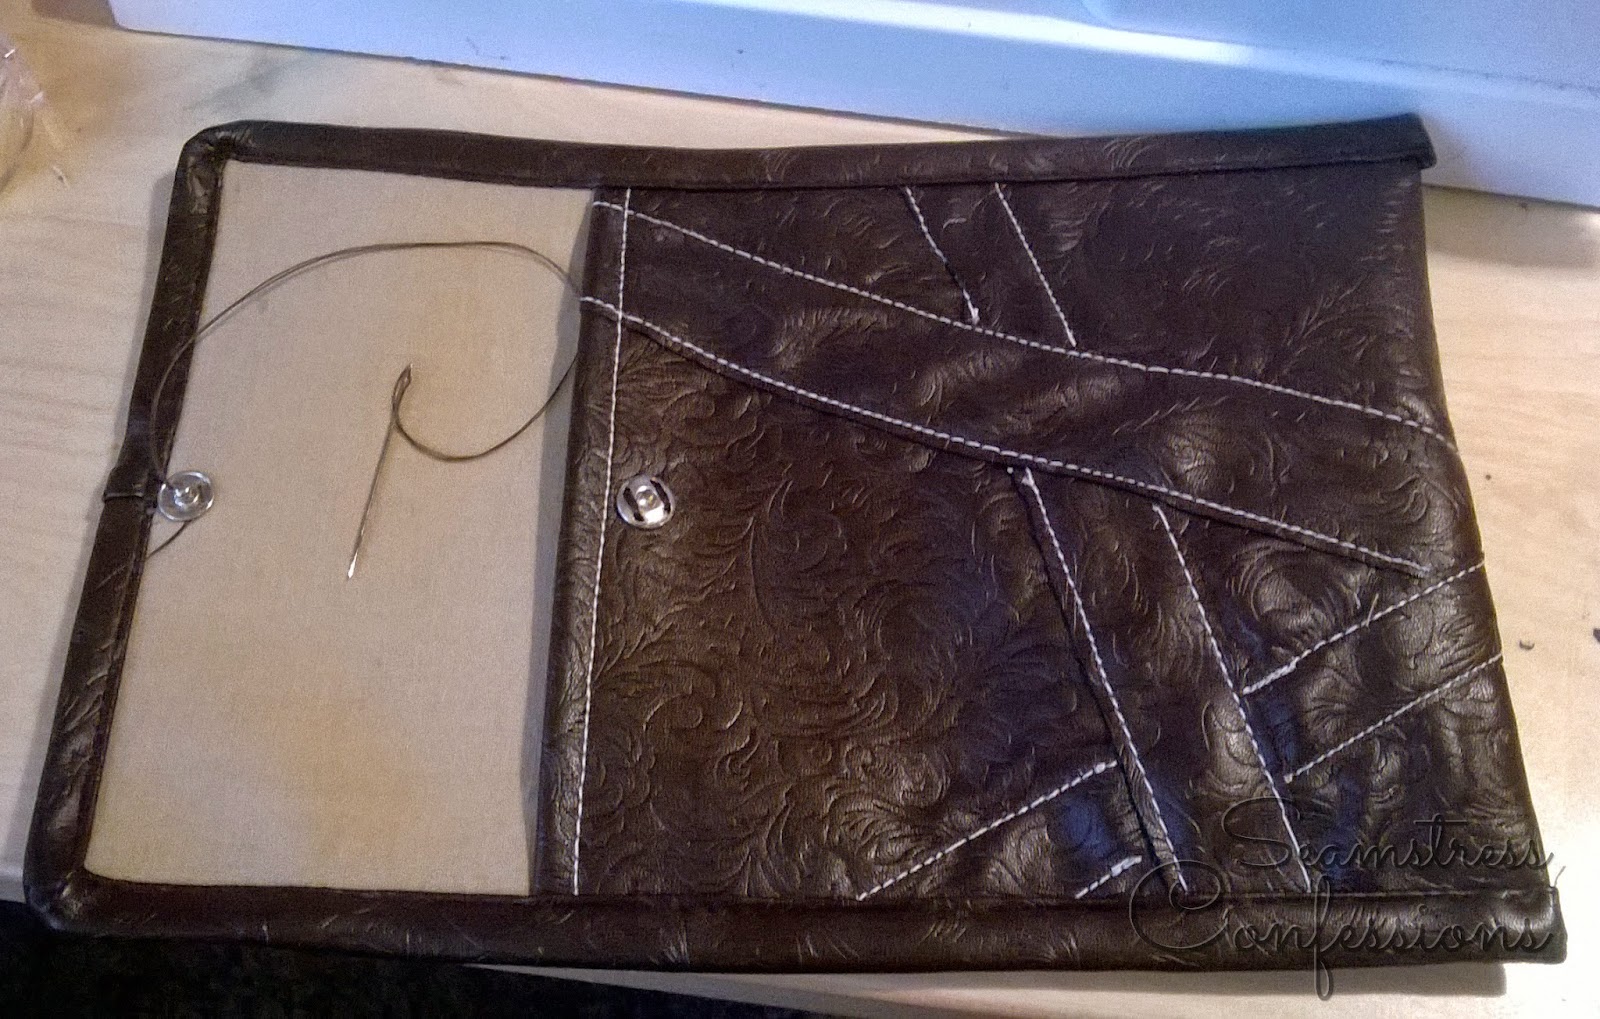
I arranged the extra bias tape strips on the outside of the second pouch in an interesting weave pattern and topstitched them down.
This pouch was stabilized, and then the edges finished with pleather bias tape

To finish the belt, I stitched both pouches in place, and added a strip that secures with a snap to hold the gun in place. I got my husband to put in the back lacing eyelets for me, since my hands are so not up to that kind of work right now.
Up next: see how it all comes together!
No comments:
Post a Comment