Wednesday, January 7, 2015

Downton Abbey Cosplay

So despite the popularity of "Downton Abbey" as a TV show, it doesn't seem to show up much in the cosplay community. I spent quite some time scouring the internet on Monday for fan costumes based on ITV's hit show, but turned up few hits (for comparison, I've personally sewn more "Once Upon a Time" costumes than I could find for "Downton Abbey.")

I'm not entirely certain why this is. My guess is that the type of people who like to recreate historical costumes are less likely to wear them as cosplays and more likely to wear them to historical balls, which are less likely to find their way onto the internet. Maybe? There are plenty of holes you could poke into that theory.

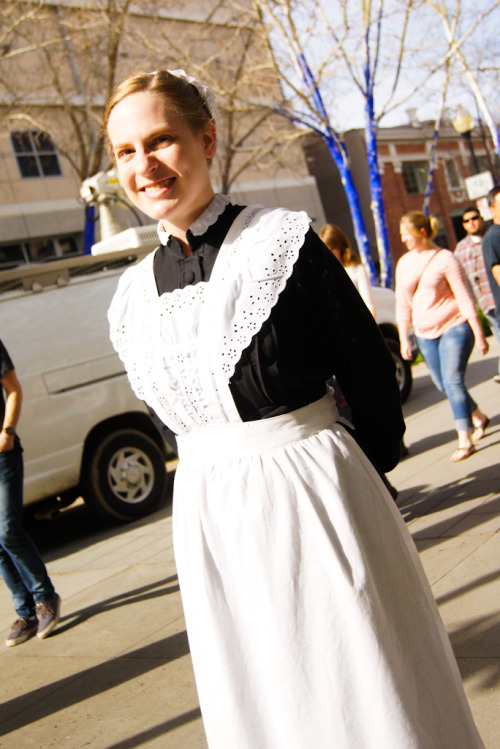
Another, perhaps more likely guess is that Edwardian era costumes work best on a very specific type of figure - a boyish one. If you're like me and have a curvy figure, then as much as you might adore the fashions, you know it'll be a tough sell to pull one off and feel like you're looking like the character. The costumes are rather too elaborate to put a lot of work into if one isn't going to feel confident wearing one. 

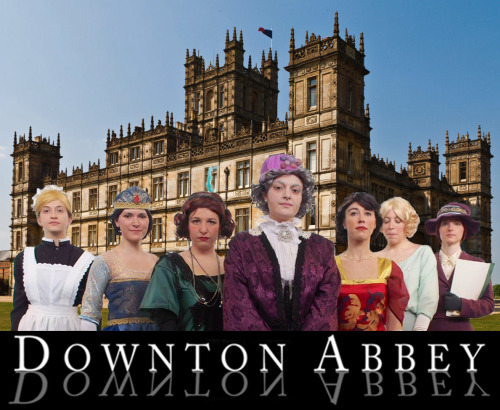
It could also have something to do with the overall popularity of the show making cosplayers less interested. "Downton Abbey" has become so mainstream, it's hardly "hipster" to do a Crawley cosplay. And with the loss of two fan favorite characters in season 3, it shook up the core fandom who had been with the show from the beginning and were the demographic most likely to make costumes.

Another factor could be a lack of easily accessible sewing patterns. Simplicity and McCalls are late in jumping onto the bandwagon here. Whereas people have been making Superhero costumes for years, and most "Once Upon a Time" costumes can be easily adapted from existing patterns, "Downton Abbey" is a specific style with little help in the mainstream pattern world (although more are coming soon!) So there is some hope that we might see an upsurge in Crawleys and Bates soon enough.

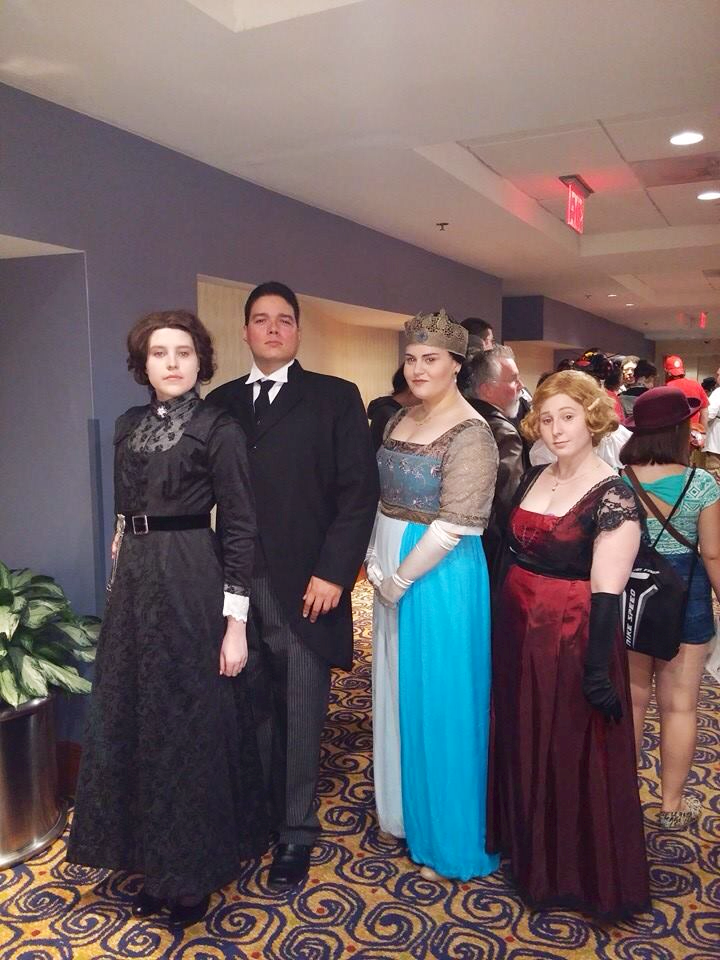
In the meantime, take a look at what has been done, and done pretty well too!


What do you think? Are you inspired to sew your own "Downton Abbey" costume? (Or commission one here!) Or have you already made your own that you'd like to showcase on this blog? If so, send me a line at elenatintil [at] gmail [dot] com and we can discuss a guest post!

Friday, January 2, 2015

Gothic Raggedy Ann - Part 2


In order to reduce bulk and maximize efficiency, I opted to make the apron ties the waistband of the skirt. This worked pretty well and also reduced the amount of fabric required.


I love all the layers of details in this costume. Even though the pattern itself was simple to make, it is still very visually interesting because of the blend of textures and accents.


The back of the blouse is closed with an invisible zipper.


The back of the skirt has a regular, lapped zipper.


This was my first time ever working with skull fabric. Thank goodness the Halloween fabrics had just gotten in at JoAnn's!


I had this black embroidered chiffon ribbon in my stash and thought it added a really cute and interesting later. It was also more in keeping with the other materials than a satin ribbon would have been.


It was tremendously difficult to find large enough buttons for this costume without breaking the bank. Buttonhive on Etsy sold these in lots of six, but agreed to give me a special listing for just the two that I needed. I was very grateful!


I wouldn't say I always enjoy a unique challenge, but I did like this one. It was fun to get to work with predictable cotton fabric instead of slippery silks and satins, and it was fun to do something with so much embellishment.

Wednesday, December 31, 2014

Gothic Raggedy Ann - Part 1


While most of my costume commissions fall in the fantasy realm, every now and then I get something pretty unique.


When my client e-mailed me this photo and asked for a price quote, I thought "huh, now that'll raise some eyebrows among my facebook friends!" but decided to give it a go anyhow.


This was my first project after the Queen Regina adventure, so I was intensely particular about setting up and measuring the dress form.


The bloomers were pretty simple, I just made a pattern based on a pair of my own shorts, adjusting for the client's measurements.


Serged everything...


Hemmed it up! (This was supposed to be a cost effective costume, so the serged hems only got folded over once.)


Added elastic and lace and hey presto!


Bloomers, With my lovely new garment tags!


Although the original photo involves polyester and shiny-ness, my client wanted this to be a very durable costume so we opted for cotton options (which I think is more in tune with Ann's style, anyhow!).


For the bodice I pretty much just draped the pattern.


Lots of eyelet lace everywhere!


Empire waisted blouse.


Sleeves, prior to elastic insertion.


Stitching the upper and lower bodice pieces together.


Although the bodice will be tucked in, I wanted to make sure it was long enough that my client wouldn't have to worry about it pulling out when she bent over. Also, the sleeves can be worn over the shoulders, or down on the arms.

Click here for Part 2!


Monday, December 29, 2014

Now that's a (blue knit) Dress!

I spend a lot of my time making very elaborate, structured, time-consuming costumes. Every once and a while, however, I wake up and want to make something comfy and easy for myself. Such a day was the one when I found myself with a hankering for a simple knit dress.

First I went online and looked for inspiration. I found this and thought it'd be a good jumping off point as a style guide. Then I raided my fabric stash for a large piece of comfortable and durable knit fabric.


I ended up with a sort of gray/blue piece that had been in my fabric boxes for years and had already yielded up one much loved skirt. Unfortunately, while there was more of it hidden away, the piece I could find made cutting the skirt a bit tricky. I came up with a workable design, however.


I used a knit top of similar stretch to create the bodice pattern. Actually it came out a little snug, so I opened the sides back up and inserted little strips under the armholes. It's not at all noticeable when I'm wearing it, but makes it fit a lot better.


It all came together really quickly. I made the whole dress in one session.


 All of the interior seams were sewn with a zig-zag stitch, but for the skirt and sleeve hems I needed something more professional looking. This was back when I had my complicated five thread serger and could do a coverstitch. Nowadays I would just use a twin needle on my regular machine. It'd look the same on the outside.


I was so happy with how it turned out! I actually constructed it over a year ago and have been wearing it quite regularly in cold weather ever since. It's comfy, cute and doesn't wrinkle with travel. I was so excited about it that I went out and got knit fabric for two more versions of it. One is cut out and the other is still... fabric. Haha. But anyhow...

Friday, December 26, 2014

Mrs. Santa's Workshop

 Here it is, the long promised post of everything I've been doing instead of sewing this month! I wasn't able to photograph every single gift I made, but here are most of them.


This was for my grandfather. I took a wooden cross, painted it, sanded it down, put a wash over it, embossed the letters on, and sealed it.


A tiny treasure box I made for my nephew. Same technique as cross.


Okay, I went a little overboard with embossing. This is a book I made for my writing partner.


Glitter. Everywhere. Technically this was a birthday present, not a Christmas gift, but it was made in the same batch so I'm sharing it anyhow.


As a companion piece to the box above, I used my embroidery machine to embellish a tote bag. I then jazzed it up with beadwork.


My sewing room is still a mess.


I think this is the gift I'm most excited about. Well, it's maybe tied with two others. But seriously, I had a lot of fun making this under the sea treasure box for my sister-in-law! I took a plain photo box from JoAnn's and used water colors to give it the shade and texture I wanted.


I used metallic scrapbooking embossing powder to create the shimmer in the crevices.


Many of the pieces on the box were from the fairy globes my friends made me for my wedding.


I was so excited that I still had some little shells and moss to add to the mix!


And then I lined the interior.


I used stamps and more embossing powder to decorate the sides.


...or maybe I'm more excited about these mittens?


I took this free children's mitten pattern from Ravelry.com and adapted it to fit my sister's hands and aesthetics.

Needless to say, my sister, a huge Spiderman fan, was ecstatic.


Lastly I made up this rag bowl as a gift for my healthcare provider, who has given me so much this year, starting with getting me stable enough to walk down the aisle at my wedding!