Thursday, April 10, 2014

Assassin's Creed - Part 4


Remember how in Part 3 I said the vinyl was a bit stretchy and thus fussy to work with? You can see the puckering issues in the vambrace pieces above. I've learned my lesson about testing vinyl for appropriate stability! 


Because of the stretchyness and also because vinyl is, after all, plastic leather, I really wanted to make sure everything was reinforced with interfacing. Especially the strips I used to make the straps and buckles.


Disclaimer. I'm not a professional leatherworker. There might be other much better ways to make straps like this. This is the result of my trial and error to come up with something that would work with this leather, look decent, and get the job done.


I started by sewing two strips together. These straps are so thin, that I could not sew both sides and turn them inside out. Therefore I sewed only one side and the tip.


Then I trimmed everything down to make the tip as smooth as possible.


It's always helpful to have a tool like this when turning finicky corners rightside out.


On a bigger strap I'd be able to get a more precise tip, but for the miniscule size here, this was as good as I was going to get.


I then slathered the whole interior with glue, both for stability and to secure the open edge...


...like so! This glue held the edges down until I could topstitch it. I tried pinning it, but it just did not work very well.
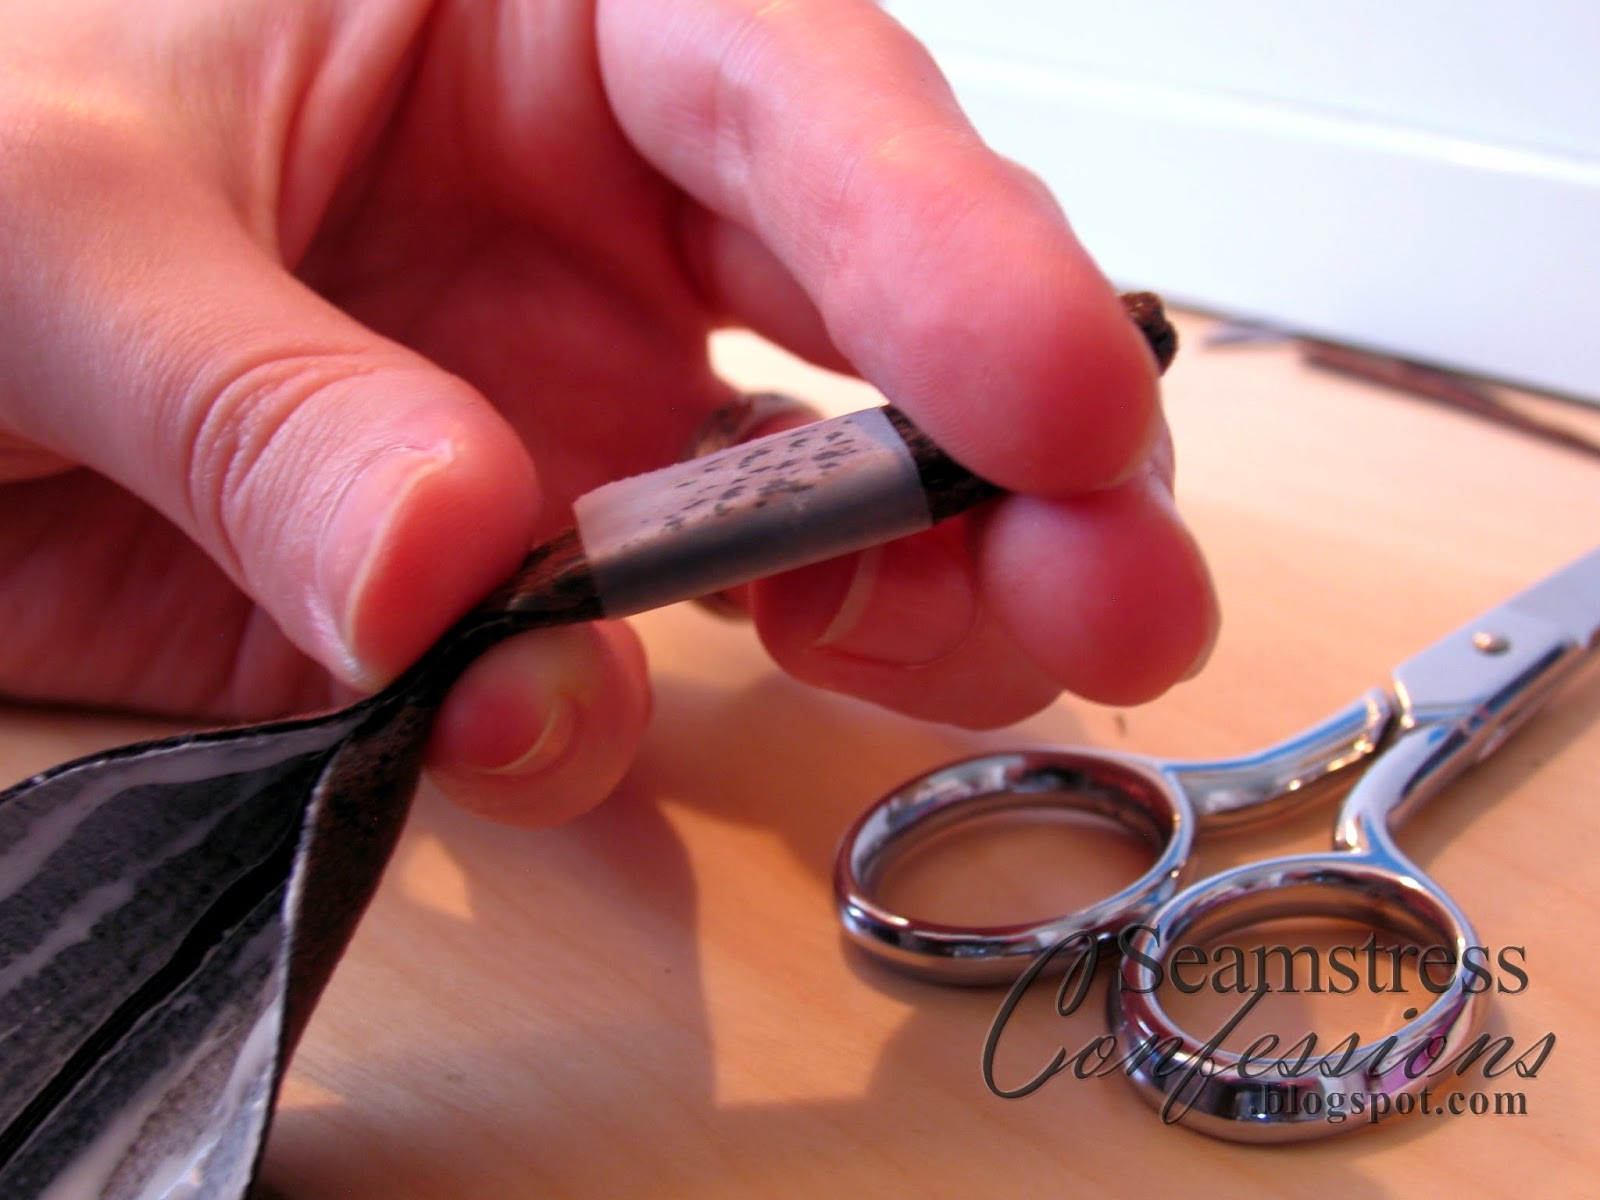

A bit of tape...


...and a bit of weight kept the edges turned under and flat until the glue dried.


Once the glue dried, I topstitched the edges and punched out the holes.


The buckles were a bit easier to flip into place and sew down. Here you can see just how tiny they are!


A stud to tack it down and add some more shiny!


The finished belt!


The finished vambrace!

Ready to see the final photos? Check out Part 5 of the Assassin's Creed Cosplay!

Tuesday, April 8, 2014

Assassin's Creed - Part 3

Tunic is done, but we need some more pieces to pull this costume together.


Since getting a large enough piece of leather for the whole belt would be expensive, my client and I decided to go with pleather. After making the whole thing, I've pretty much decided that the extra time required to finish all the edges doesn't make it cheaper and in the future I'd let my clients choose one or the other.


Since I was working with pleather, I needed to line it, and I decided to use some of the left over white broadcloth from the tunic. This turned out to be a good idea despite the color difference, as this pleather has a bit of a stretch to it and needed the stability of the broadcloth backing.


Actually the broadcloth alone wasn't even enough. I added interfacing to both pieces.


Stitched and turned!


Then I topstitched all of the edges...


...using my special non stick foot. (I've read that you can also put masking tape on the bottom of a regular presser foot for the same effect)


Looking mighty fine, don't you think?


Time to add some more details! I used packing tissue saved from my wedding plates to make the pattern for the belt appliques.


They were a little fussy to sew down, mostly because they wanted to stretch out, and I had to use a little glue first to get the curves to tuck under smoothly.

Sharp eyes will note buckles at the top of that last photo... click through this link to learn how to make those in Part 4 of the Assassin's Creed Cosplay!

Monday, April 7, 2014

Assassin's Creed - Part 2

In part one we talked about making the body of the tunic. Here we talk about sleeves, embroidery and other embellishments.


It was at this point that I got my AWESOME NEW EMBROIDERY MACHINE and used it to create the design on the shoulders. I played around with some stitches on scrap fabric before finalizing the armhole design. It just took three different decorative stitches, lined up very carefully.


Yes, I could have purchased some trim, but it would have been difficult to get it to lie smoothly on the sharp curves of the armhole. I was pretty happy without the design turned out.


I cut the hood freehand, angling it to slope over the shoulders. Unfortunately I didn't give it quite as much of a point at the top as is iconic to Assassin's Creed. That's the difficulty when working in a fandom I'm not personally familiar with, I really rely on my clients to point out the details that are most important to them, and that has to be done ahead of time. Once the fabric is cut and sewn, there usually isn't a lot that can be altered.

Ah well, it'll still look very cool.


I made the hood separate from the rest of the tunic, sewing it to a fully lined collar.


Inside out...


Right side out!


I then stitched in the zipper the same way I did on the tunic. The only difference is here I used a regular zipper, not a separating one, as JoAnn's did not carry one that was short enough. No biggie, unzipping it to the bottom gives a more than large enough head hole.


Look at that!


My husband was pretty excited about the hood piece.


Look at how nicely that shoulder slope worked out!

We're a long ways from done, however. Find out how I did the belt and vambraces!

Thursday, April 3, 2014

Assassin's Creed - Part 1

Before I became a full-time freelance costumer, I worked as a nanny for two different homeschool families. Given that I was also their tutor, I spent a lot of time with these kids and they became pretty special to me. So imagine how excited I was when the oldest decided he wanted to commission his own costume from me! (My husband, being an Assassin's Creed fan, was also pretty excited.)


I used McCall's 5446 as a guideline for the white tunic, as I had the pattern on hand and the lines were pretty much exactly what I needed. I lengthened the torso a bit, and changed the neckline slightly, simple but important modifications.


Assassin's Creed fans will note that there is only one layer to this tunic. My client and I were trying to make this as easy and economical as possible, so we passed on that layer. (Easy... ha... you'll see...)


However, since my client wanted to use this piece for parkour as well as cosplay, it needed to be durable and easy to wash. I used a blend broadcloth and lined it with cotton muslin.


It's always difficult to complete slits when lining is involved. Sometimes I handsew the peaks to get an invisible seam, but that wasn't going to matter with this costume since the belt would be covering it. So I just topstitched it down.


I sewed the zipper into both the broadcloth and the lining at once, so there would be no raw edges on the interior. I


I just used a sturdy plastic jacket zipper.


I'd sewed the collar in before adding the zipper, so that the zipper could extend up into the collar. The final step to finish it involved pinning down the loose cotton and topstitching it to again avoid raw edges on the interior.


(Here you can see what it looked like pinned from the outside)


Read Part 2 -The Sleeves and Hood!