Monday, March 10, 2014

OUAT Costume Drool - 3.12 Goodies

Man oh Man. OUAT is back, and with so many costumes I had to do a costume post just devoted to 3.12 - "New York City Serenade". Ready to drool? (Prepared to be spoiled if you haven't seen the episode already!)

(All photos are my edits of screencaps from here.)


So fun to see everyone again! especially the glimpse of Ruby! She's so small that I can't be sure if it's Megan Ory or a stand in - but either way it's always nice to see her existence acknowledges.


And man oh man I just about died when we got to see Aurora in a NEW DRESS. They kept that girl in the same costume for far too long. I'm gonna assume one of her fairy godmothers gave her the gift of never having body odor, otherwise there's no way that baby would have happened with how she would have stunk...


They had to keep Snow in bulky garments to cover Ginnifer's pregnancy until it was time for the reveal, but her coat has some lovely details, as seen above (I love the little embellishment by the sleeve slit).


Some full length costume details.


I never got around to doing a post that properly acknowledged Robin Hood and his costume - there's a really strong "Prince of Thieves" influence, which always looks cool even if it's not really historically accurate.


Another geek out moment? Seeing Belle in a new dress! It's a totally different variation of the blue cartoon dress, and I'm looking forwards to seeing more of it soon!


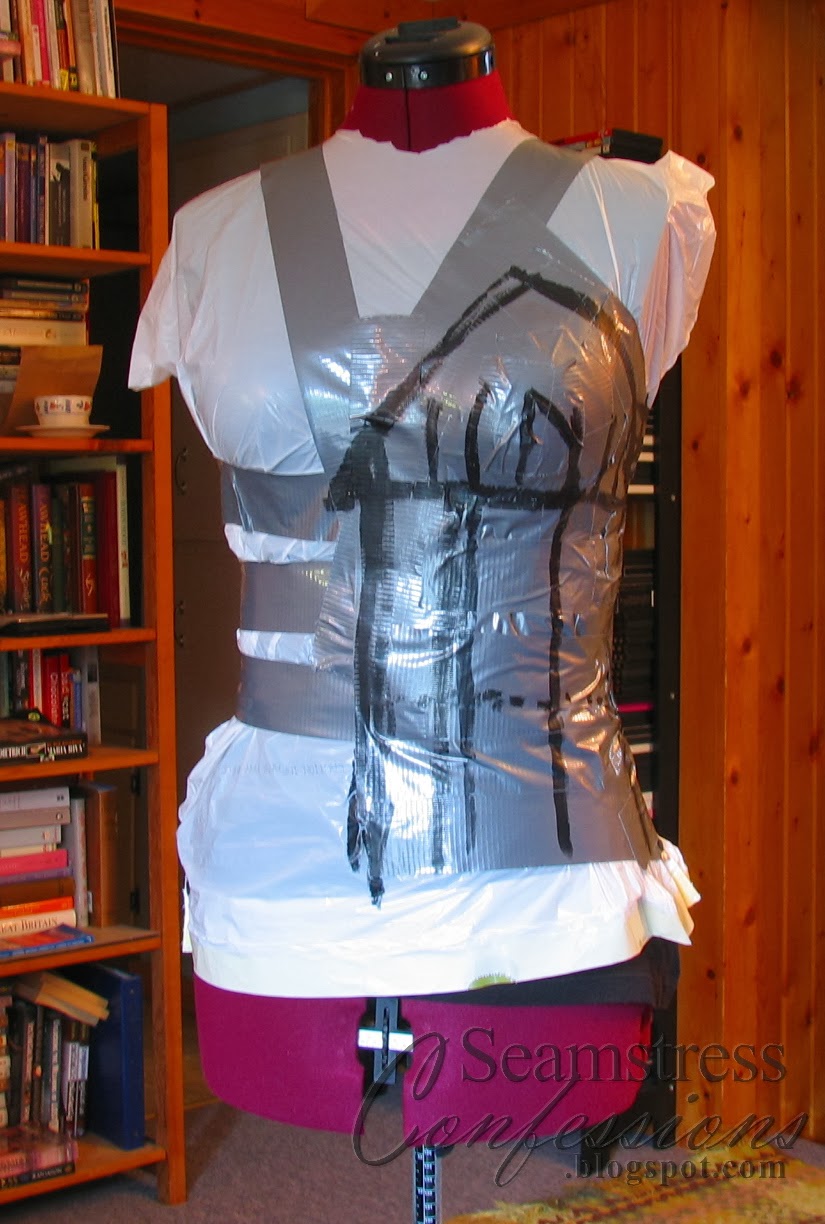
Wow. Prince Charming is looking pretty handsome here in this fantastically detailed leather jerkin. I'm dying to recreate this one, even though working with those fabrics would be a bit tricky!


More full length details 


Notable costume moment from the other side - Emma putting on her jacket again.


And here's our first onscreen look at the new big bad - or should I say, big wicked???? 

Tuesday, March 4, 2014

Corset Lacing

My friend Megs recently purchased a corset and ran into a roadblock when the lacing came out... as it turned out to be two pieces of lacing and she wasn't sure how to get it back together. I came to her aid and took photos along the way.


First I unlaced everything completely.


Then I separated both cords and threaded one through the top two holes and the other through the bottom two holes.


I then proceeded to lace both lacings up/down until they met in the middle.


We then put the corset on Megs, I tightened it up, and we drew all four ends together to tie in a bow. The advantage to the double laces is that you can have the top of the corset be a different tightness than the bottom, which can be a real asset if you're having trouble breathing/moving.

Friday, February 28, 2014

Paisley Sundress - Part 2

Ready to see more of the Paisley Sundress?


The bodice pieces required a bit of gathering into the waistband to get them to form the proper cup shape. My sister loves layering her clothing, so I knew she'd likely be wearing something underneath this anyhow, so I didn't have to stress about coverage issues.


Getting the points on the hem just so was pretty finicky. I opted to serge the raw edges and just fold them over once for the hem. I didn't want it getting too bulky either.


All seams were finished with my serger, but nothing was lined. I wanted this to be a very light dress that my sister could choose to layer if she wished. I also thought it would work pretty well as a cover-up over a swim suit.


And it's done!


The skirt ended up a bit longer than I'd originally intended, so it's got more of a maxi-dress feel. Which is cool, because maxis are totally in.


Just a straight simple zipper up the back. I added a couple of hooks at the braided trim to keep it closed properly. The braid has the added benefit of giving some underbust support! 


And here we go, sketch to dress! I'm pretty happy with how it turned out!

Thursday, February 27, 2014

Paper Dresses of Awesomeness


Two different friends had to tag me with this link before I finally checked it out. Sorry guys, you were right, this is awesome!

The gist of the story is this very creative little girl wanted to create her own replica of famous dresses. Her mom helped her out, and together (splitting the work 50-50) they used mostly various kinds of paper and lots of tape to recreate some recent red carpet and runway stunners (not to mention a few Disney princesses!)

Growing up as a creative gal and followed around by a super creative little sister, my bar is set pretty high. But this little girl utterly stuns me with her ambition, creativity and talent. I can't wait to see what she grows up to be!

You can read more about this amazing mom/daughter duo here, or check out their Instagram page for every more dressy awesomeness!

Wednesday, February 26, 2014

Paisley Sundress - Part 1

If you've been following my projects for awhile, you may have noticed that I really like to sew things for my sister. Well, this year she happened to be away from home for two weeks over her birthday... just enough time for me to create a surprise dress as a birthday present!


I started off with a sketch to see if my idea would work visually. I'd already gotten the fabric, picked up on sale at JoAnn's.


I had her measurements on file from previous projects, so I set my dress form to her size and created a duct tape pattern.


I then transferred the duct tape pattern over to butcher paper and laid it out. I had three yards of fabric, which wasn't quite enough to lay the dress out with all the skirt panels in the same direction. Unfortunately the print was directional, so this was a bit frustrating. However I figured if I alternated them evenly, the busyness of the pattern would hide the flaw. And it did!


It's looking good!


I had just gotten my bias tape machine (Simplicity, on sale at JoAnn's) so I used it to create tape which I would use to...


...create the braid trim!


It's coming together! Check out part 2 and the finished product!

Friday, February 21, 2014

The Seamstress Welcomes another Machine to the Family


My birthday present from my husband... A travel sewing machine! It is just five pounds and can easily fit in a suitcase, as you can see from the paperback leaning against it!

I picked this machine after the Refashionista recommended Janome's other mini machine - the Sew Mini. Unfortunately the Sew Mini has been out of stock this year, but the Teal machine is very similar and has a few more stitches, so I'm excited to test it out!

Nathan suggested I name this one "The Little Mermaid" because it's ocean colored and little. I find that kind of catchy...

(Yes, this is machine #5. I have my main husquevarna, my backup husquevarna, my serger, my antique sentimental machine that was my grandmother's, and now this one!)

UPDATE 12/1/14 - I love this machine! It's worked very well for me. A bit slower than my normal machine, but good stitches and the ability to even sew through two layers of the thick red velvet damask I use for Red's cloak.