This post is part of a series. Start reading here!
There are so many pieces to this costume, that I decided that the final post would detail the process of 'getting dressed' in it.
First layer, the shift. Easy, it just goes over the head.
Second layer, the skirt, which laces up at the back.
Second layer viewed from the front.
The third piece is the bodice, which attaches to the skirt via a series of four hook-and-eye sets along the waistband.
Here's what it looks like so far.
The shoulder straps are then attached, via ribbons coming up from the bodice and looped through eyelets in the corner of the straps (both front and back).
The lacing hidden under each side of the front bodice panel is then tightened to the desired fit.
Next, the purple upper arm cuffs are slid on and the lacing tightened. This eyelet tape is the same I used on the bodice. The eyelets are very close together, and it's not suitable for all projects, but it certainly made parts of this costume come together MUCH faster. Also, the purple cuffs came out a bit on the narrow side, so the added eyelet strip brings some additional width.
The lower arm pleather vambraces go on next, and these are a bit easier as the eyelets were set directly into the pleather and there are fewer of them.
Next, on goes the belt which laces up at the back. All of this lacing makes the costume more time consuming to put on (like real historical clothes!) but also makes it very forgiving to wear!
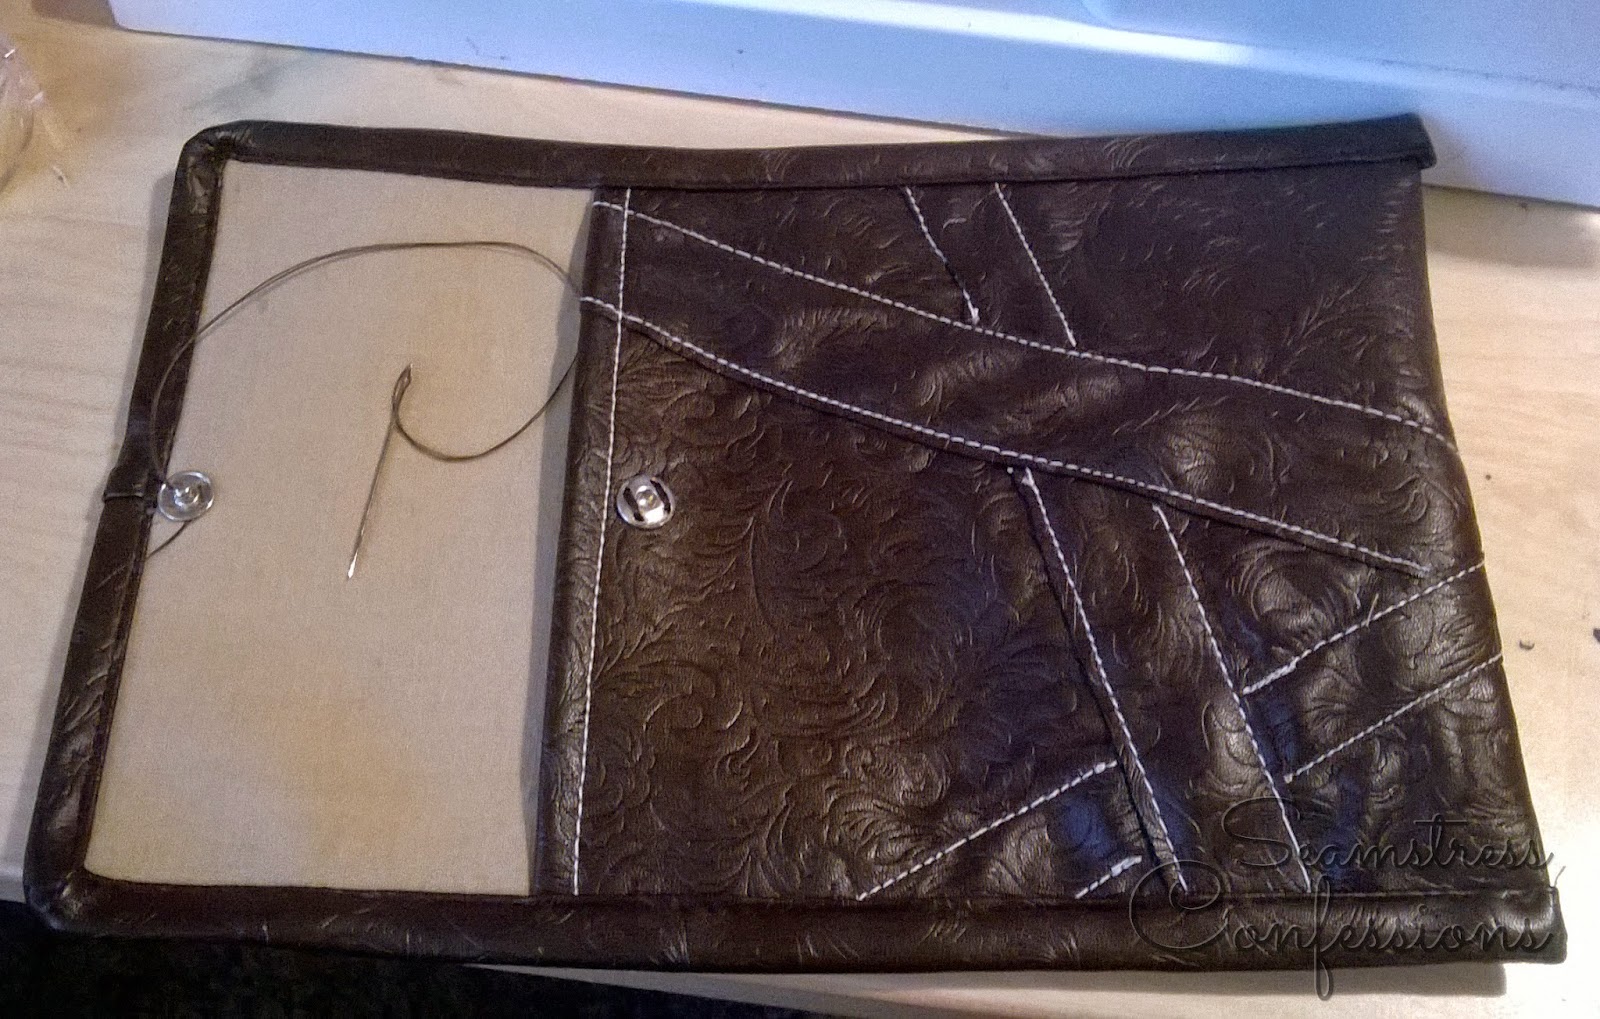
Here you can see the strap for the gun, unsnapped. (I'm a little wary that the snap might not prove strong enough in the long run, so we'll have to see what my customer reports and whether I need to come up with any further solutions here).
Here it is! The completely finished and assembled costume! (Minus the hat,
which is a tricorn hat we purchased and I embellished - view it on my instagram!)
Remember, this is what we started with...
...and this is the final product!
(I only have one fake arm, hence the lack of arm cuffs on the right arm. They exist, I promise!)
The pouches make me so happy!
It took me 3 months, 40 hours of labor and $270 worth of materials to create this costume, and it is SO satisfying to see the end result turn out so well! If I get permission to share any photos from my client, be sure that I will do so!
Do you want to commission your own costume? Learn how here!


