Part 1 got us through the underdress and the sleeves, now it's time to see the whole gown come together.
The overdress is constructed much the same as the underdress, only without the ruffle. Truth be told, I had some troubles with this hem and I still wish I'd gone back and fixed it. Ah well, the client loved it. :)
Sleeves required a bit of gathering on the top.
Sleeves inserted!
Underdress and overdress, right sides together, with the collar sandwiched in between to pull them all together!
The nearly finished gown!
Sewing in the zipper. I realized that it was high time I started finishing the raw edges inside the zipper and zigged them to the edges of the zipper. (Didn't have enough red thread to do it on the serger).
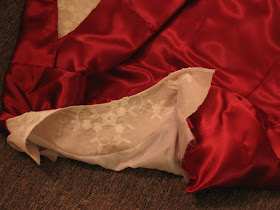
Final detail... I'd left the lining open at the sleeves, so that I could turn it inside and sew it invisibly, covering and finishing all of the exposed seams.
Finished product!
Isn't our model a cutie?
Many thanks to Amanda's family for doing the photography on this one!
Want a chance to win a 50% off coupon for the dress of your choice at YLP? Check out our Christmas Contest!


No comments:
Post a Comment
Welcome to the discussion! Please note that due to chronic illness, I am no longer taking commissions of any kind.
Thank you for being polite and profanity free :)