My customer and I worked together carefully to choose the most accurate fabric for the costume. Although I believe it is a woven stripe, my customer preferred a corduroy and tracked down the beautiful piece you see in the photo above.
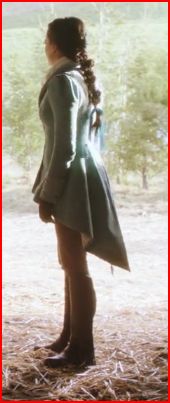
I then went into the episode itself and took several screencaptures to get as many angles and details as possible.
In the photo above you can see the contrast between the velvet collar and the main broadcloth.
Above is a look at the match between the corduroy and the velvet that I dyed. The fabrics are actually even closer then they appear in this picture, as you'll see as the project progresses.
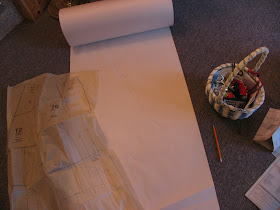
All set up to modify an existing coat pattern to work with this!
A look into my workbook, with the measurement grid and fabric samples. I keep pages like this for all my clients.
The pattern required some modifications, but not anything I couldn't handle. I used the collar pattern from another coat pattern to modify this one properly. The sleeve needed to be cut for the cuff and the lower piece extended to allow for overlap. The back of the coat needed to be split to properly replicate the back slope and pleats.
A closer look at the collar modification.
Check out Part 2!


Can't wait to see it all finished!
ReplyDeleteWow! you are the only person I know that makes Once Upon a Time costumes! do you have any idea how to make Regina's black lace headpiece? I planning to dress as Regina at a costume party but I have know idea how to make the lace headpiece.
ReplyDeleteYes, I've actually just made it for a customer. You can see the full diary here: http://seamstressconfessions.blogspot.com/2012/10/queen-reginas-black-dress-part-2.html
ReplyDeleteI want it!!! *how much for the same ?* !!!!!
ReplyDelete