Several years ago, when I worked in the alterations department at JCPenneys, they had these really nice long plaid skirts. Long skirts for reasonable prices can be hard to come by, and I loved the plaid design so I picked up two -- one red, one blue.

However, I've found that nowadays the skirts don't get much wearing. While they're a good staple to have around, I don't need two. So I started thinking about how I could redesign the red one into something I'd wear a bit more...

I decided I'd go with a shorter, pleated skirt. First step was cutting the yoke, which was determined by where the zipper ended.

I then cut the lower portion into two equal halves. This included both the plaid fabric and the black lining.

The yoke was a little loose for the skirt design I wanted to do, so I took it in about an inch and a half on the non-zippered side.

Next I took the two lower panels and sewed them together at the side seams to make one long strip... this would become the pleats. (Pleats take a LOT of fabric!)

Next I had to figure out how big I could make the pleats with the fabric I had. This involved a complicated mathematical algorithim that WORKED but I couldn't possibly hope to explain. Needless to say, there is a reason why fashion design majors need higher level math classes than English Majors.

I worked in 1 and 1/4 inch segments. I quickly figured that I could mark off the spaces on the pleat fabric and fold it in the pleated pattern according to the marks. It went smoothly and speedily this way.

Pleats sewn, and pleated fabric hemmed. I sewed the pleats in place before attaching it to the yoke to make sure nothing shifted.

Then, to help it all lie a bit flatter and to make a very formal skirt look a little more casual, I added topstitching along the bottom yoke/top pleated edges.

Next I had to add a bottom panel to the lining.

And of course iron down the pleats.

The result? A very classy, cute and well made skirt that even my guy friends were awed by!
 However, I've found that nowadays the skirts don't get much wearing. While they're a good staple to have around, I don't need two. So I started thinking about how I could redesign the red one into something I'd wear a bit more...
 I decided I'd go with a shorter, pleated skirt. First step was cutting the yoke, which was determined by where the zipper ended.
 I then cut the lower portion into two equal halves. This included both the plaid fabric and the black lining.
 The yoke was a little loose for the skirt design I wanted to do, so I took it in about an inch and a half on the non-zippered side.
 Next I took the two lower panels and sewed them together at the side seams to make one long strip... this would become the pleats. (Pleats take a LOT of fabric!)
 Next I had to figure out how big I could make the pleats with the fabric I had. This involved a complicated mathematical algorithim that WORKED but I couldn't possibly hope to explain. Needless to say, there is a reason why fashion design majors need higher level math classes than English Majors.
 I worked in 1 and 1/4 inch segments. I quickly figured that I could mark off the spaces on the pleat fabric and fold it in the pleated pattern according to the marks. It went smoothly and speedily this way.
 Pleats sewn, and pleated fabric hemmed. I sewed the pleats in place before attaching it to the yoke to make sure nothing shifted.
 Then, to help it all lie a bit flatter and to make a very formal skirt look a little more casual, I added topstitching along the bottom yoke/top pleated edges.
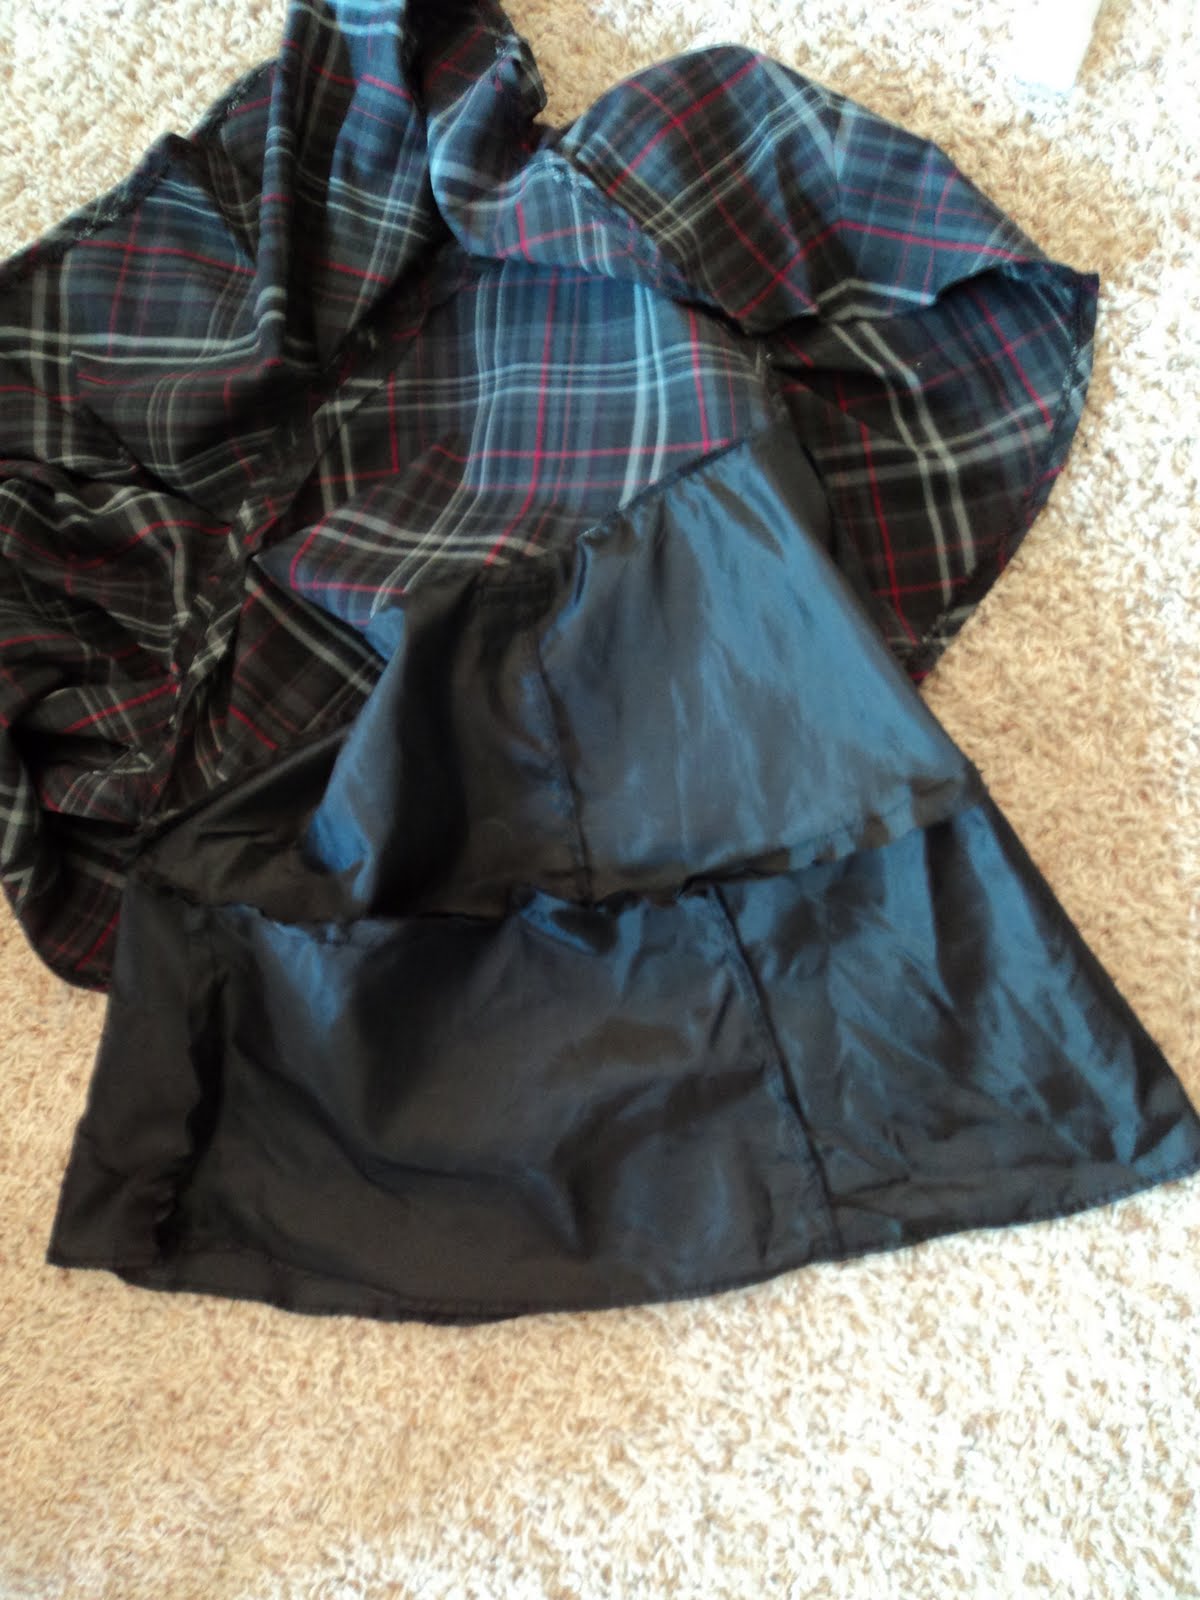 Next I had to add a bottom panel to the lining.
 And of course iron down the pleats.
 The result? A very classy, cute and well made skirt that even my guy friends were awed by!


