Friday, April 3, 2015

Steampunk Renaissance Pirate Costume - Part 2


Did you check out part 1 yet?


Now, this costume was going to the same costumer with whom I'd had a fitting mix-up last year. She is a tremendously awesome lady who wanted to work with me again, and this time we really wanted to make sure we had our bases covered with a flexible fit costume. So we purposefully designed it with two lacing strips on the bodice, and I also sewed a muslin which I mailed to her and had her try on and photograph for me.


Using the info she sent me, I was able to make a few modifications on the muslin, but they were all pretty minor tweaks.


I then cut apart the muslin (which she had sent back to me) and used them as templates for...


... pattern making! (above, an easy way to add seam allowances!)


We had lots of brown packing paper left over from wedding presents, so I've been using it to make patterns all year.


Since the patterns had been stored on a roll, they needed a press with a warm iron to lay flat (no steam!).


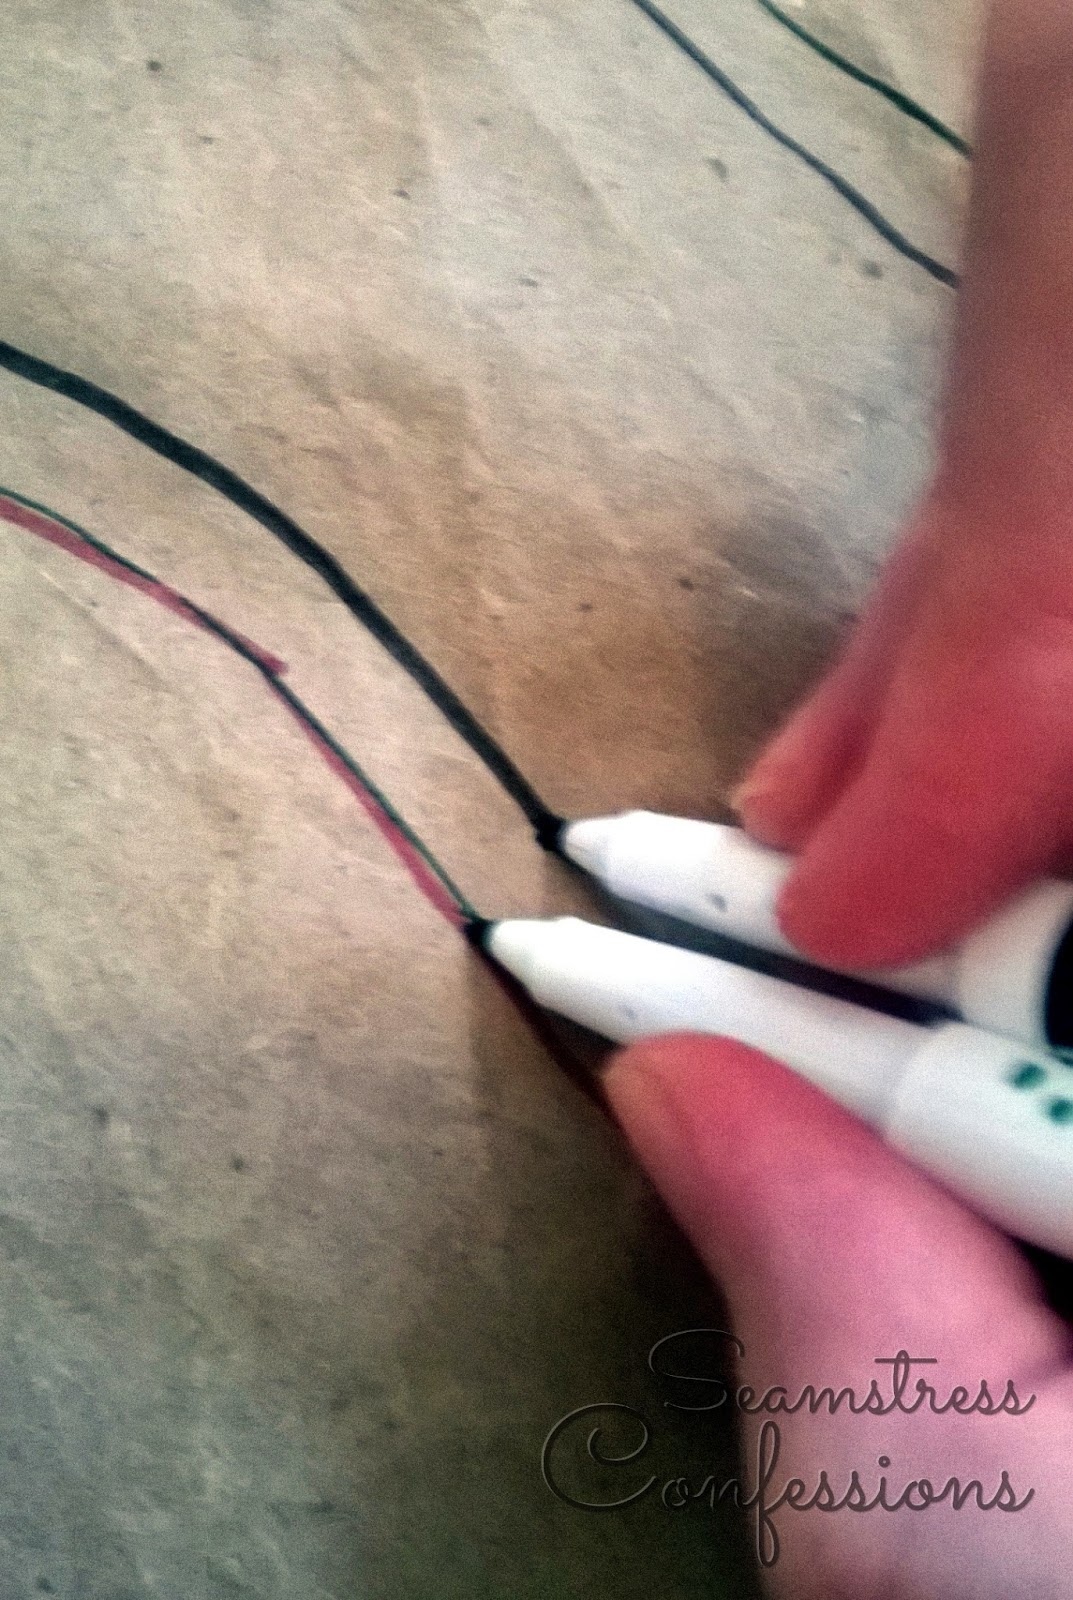
The original overskirt fabric that we picked was a very vivid blue, so I colored the lime green and turquoise on the trim with a prismacolor marker. (even though we later switched to a red overskirt, the royal blue still looks better than the lime green did).


The bodice fabric is a sturdy upholstry linen that already has stabilizer on the back. This meant that I didn't have to interface it, and could get away with minimal boning.


 Time to embroider that center panel! We had a steampunk butterfly motif we liked, but I had trouble getting the colors and style to work with both the trim and the blue fabric. We tried some different options...


After a LOT of playing around, we finally decided to get a different type of gold embroidery thread for the butterfly, and swap out the busy blue print for something subtler. 


I gave her a few options...


We both liked this mock-up the best!


Here you can see the final red and gold butterfly we went with, as well as the red overskirt. Read on for just how the overskirt was constructed, as well as details on all those steampunk bits!

Thursday, April 2, 2015

Steampunk Renaissance Pirate Costume - Part 1


Remember when I posted a tutorial for turning a water pistol into a steampunk gun? Well, that was only part of a much larger commission. Steampunk Renaissance PIRATE!


Way back last summer I purchased part of the stock of a costumer who was going out of the business. I posted a photo of some of the trims and offered to reserve them for anyone who wanted to commission something from me. A previous client of mine placed dibs on the gold and multi-colored medieval trim above, and later asked me to design a steampunk pirate with a renaissance flair around it.

I was pretty excited because this would be the first time anyone would every pay me to design them a unique costume. I've designed plenty before, but for personal use or gifts, not for commission! I really loved getting to play around and explore everything I could do with this unique concept! The initial sketch went through a few changes during the process, but overall it stayed pretty close to the original design.

I usually create multi-piece costumes starting with the inmost layer, so that I can accommodate the growing layers of fabric. For this costume, I started with the shift. I used a very thin cotton voile, cut into basic body and sleeve pieces. It's a very forgiving design, because it's supposed to be very billowy.


I sewed the seams together and stitched a narrow hem on all of the open edges. Then I drew guidelines for placing...


..bias tape! The bias tape formed a channel for...


...narrow elastic, which I drew through using a really pretty medieval inspired bodkin. (Hey Mom! Remember when you got those bodkins for me a decade ago? I still have all of them and use them! Now that's a good gift...)


Look at that lovely gathered sleeve!


Look at that lovely gathered neckline! The nice thing about an elastic neckline like this is that it can be worn over the shoulder or down. My client lives in a very warm climate, so I wanted to make the costume as breathable and cool as possible under the design constraints.


Because steampunk fashion originated in the Victorian era, one common feature you see in it's themed garments are lots and lots of ruffles. Even though this costume is meant to be more Renaissance Faire style, I still wanted to bring some of those Victorian features over. So I added a ruffle along the hem that would peek out from under the overskirt.


Simple and comfy! Shown here with a belt so you can get an idea of a shape - shifts just look like billows of fabric without anything over them.

Next up? Pattern making and bodice detailing in Part 2!

Monday, March 30, 2015

Mama Snow and Young Emma

We got a couple of new costumes this week in a flashback/vision sequence. 

(Screenshots taken by me from Once Upon a Time 4.17 - "Best Laid Plans")


First off is another Snow White woods outfit, with an interesting chevron print and some nice center detail.


She and Charming do love their big fur collars, don't they?


Super exciting was getting another look at what Emma would have worn as a princess - this time with her teenaged self! Pink seems a super weird color on her, but the dress itself is gorgeous!


Love love love the soft gold embellishments!

Thursday, March 26, 2015

Notebooks with Style

I don't know about you, but I am forever going into Target and drooling over notebooks that are way overpriced just because they have some absolutely gorgeous designs on the cover. Occasionally I even buy one.

But what am I to do with all the other notebooks, especially the ones I got for free like this:


It's actually a pretty high quality notebook... it's just not pretty.


I decided to see how professional I could make a cover out of scrapbook paper.


I cut a piece of paper a bit larger than the cover and folded it around and taped it down. This one is smaller than it should be, due to the design.

Go at least a half inch larger on all sides or more as you can see on the second notebook above.

You could also glue it, but honestly tape worked just fine and I didn't have to wait for it to dry or press it to keep it from springing back up.


I did use a glue stick to stick the first page down over the tape and edges to cover them up and make it all look neat.


I repeated the process in the back, although due to the way the wire was bound, I couldn't just flip a page over, I had to cut it out of the book, as you can see above.


I worried that the scrapbook paper would not be a super durable cover, so I decided to coat it with some varnish (you can find at your local craft store). It did cause the paper to bubble a little bit, but most of the bubbles subsided as it dried.


I still had two edges and some spiral wire sticking out that looked kind of cheap, so I grabbed my box of leather scraps, found a piece that coordinated, and glued it down with tacky glue.

(You should be able to get a bag of leather scraps for craft projects at your local craft store)


I wanted to get a really tight smooth edge, so after pressing it down,..


 ...I used a ruler to keep the edge nice and straight and a heavy book to press it down tightly while it dried. I waited for one side to dry completely before doing the other, because I needed to close the book before gluing down the other side to ensure the leather wrapped all the way around.


They turned out even better than I expected! I'm actually rather bummed because I can't handwrite myself at the moment due to muscle problems... but these will make lovely gifts if I don't' just horde them for years...

All in all, a really cheap up-fashion for a freebie (or ugly) notebook. And with scrapbooking paper coming in every design imaginable, the possibilities are endless!

Monday, March 23, 2015

Young Ursula and Current Cruella


Hi. Please forgive the drool on my face. I just have been waiting so patiently for something original and gorgeous in the second half of season 4 and we finally got it. Ursula's character on the show might ultimately be disappointing, but her younger self has infinitely better fashion sense than her older self.

Her bodice and blouse are reminiscent of Belle's original blue dress, but have some very nice ocean-inspired embellishment, as well as really cute peplum petals. And that gold skirt? There are a lot of yards of tulle in that confection of a costume!

I've also been enjoying the current Storybrooke styles of Cruella.


I can't wait to see her flashback episode and find out just why she loves 1930's glam so much!